
When you have an Online Form on your site, you will most likely want several automations to occur once someone presses the submit button.
Remember: All Tag and Custom Field options under Contact Fields will automatically be added to the Contact Record. More information: Step by Step Guide for Online Forms.
- When you have completed your form set up - you will see the Triggered Actions page.
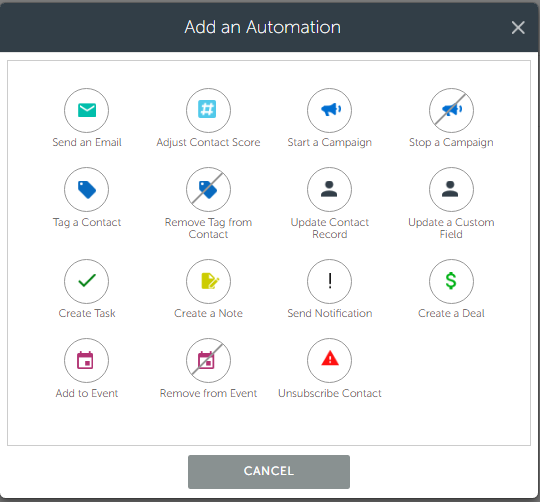
- Simply choose from the list for Actions you would like to occur
- You can add as many as you like!
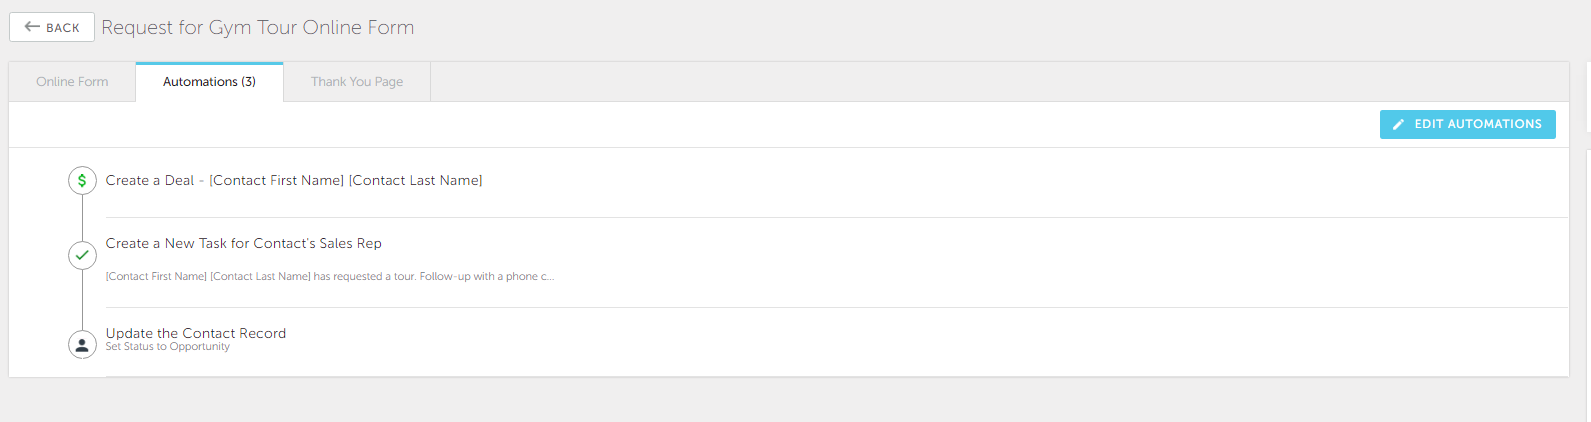
You can view all automation you have applied from the Actions Tab after you have completed and saved your form
Common Automations for Online Forms:
- Send Notification - where an email is sent to the Contact's sales rep containing the full record of what the individual submitted in the form
- Hack: if you would like the notification to be sent to another person besides the default sales rep, set up a second "send notification" action and choose to send that email to a specific address (example: sales@xyzcompany.com)
- Create Task - for the default sales rep to call or follow up on the information
- Start a Campaign - based on the type of information contained in the form (e.g. Was the form in order to receive an eBook about a certain industry you serve? Start them on a campaign specific to that)
- Stop one (or all) Campaigns - If this form is requesting a meeting, demo, or trial, you may want to switch to a more personal touch and stop your automated emails
- Adding a Tag - based on what the form means to you. Is this a newsletter signup form? Tagging the contact "Newsletter Signup" allows you to easily pull by that segment in the future.
- Changing the Contact Record > Adjusting Contact Status - Perhaps your contacts are listed in the "Lead" stage of pipeline currently. If a contact is to submit a form, you may want to automatically move them across your pipeline to something warmer - a Prospect or Opportunity!